
Weatherwise Western Red When Cloverdale approached us to create a colour to best represent Vancouver Island we jumped at the chance and it did not take long for our skilled team to come up with Weatherwise Western Red. This is a rich cedar colour with an emphasis on...
Help with your projects
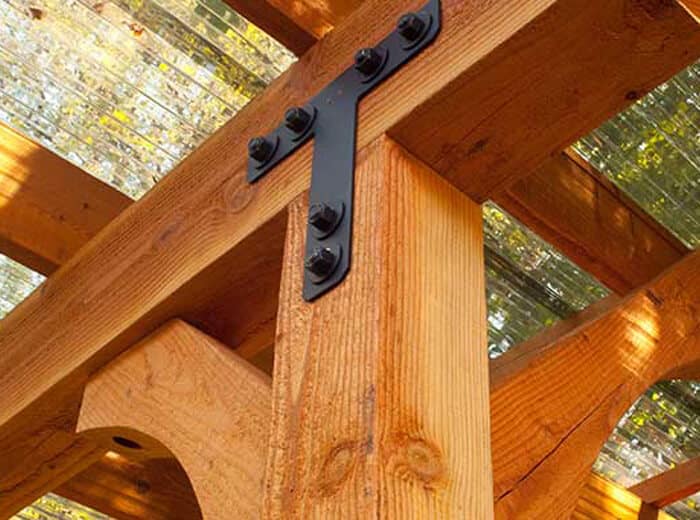
Why should you use GRK Fasteners?
GRK Fasteners is a brand we have been selling in the Weatherwise Cedar Products store for only a short while, but we are extremely fond of the quality and structural capabilities of their products. They are designed for doing a job efficiently with very few if any...
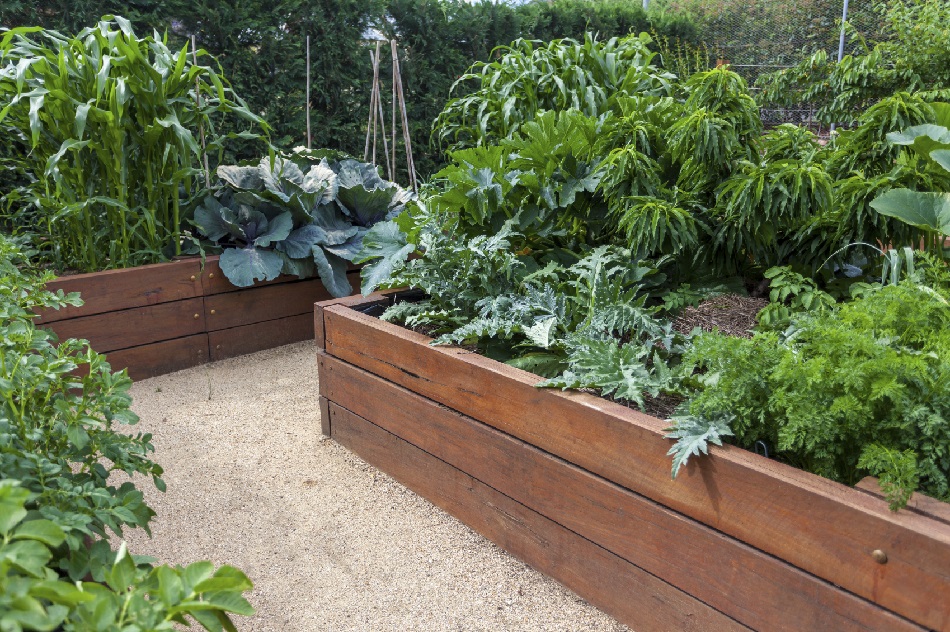
Buyers Guide to Fencing: What do you need to look out for?
The majority of customers shop around when looking for products for their home. Your home is the biggest investment you will ever make and you want it to last and look beautiful for many years. This article is intended to help you understand and search for the best...
Western Red Cedar vs. Yellow Cedar
Both Western Red Cedar and Yellow Cedar are exceptionally durable and weather resistant. After being sustainably harvested they have very pleasant aromas, and are very commercially valuable. Although Western Red Cedar has the longest life span of any tree in British...
Cedar vs. SPF. What’s the difference?
The difference between Cedar and SPF goes far beyond the price tag. First of all, SPF stands for Spruce Pine Fir, which indicates a mix of the wood types. Cedar is well known to be the most durable wood on the market, being the most successful at surviving harsh...
Why do some nails/screws bleed in cedar? How do you avoid it?
Cedar wood has naturally occurring chemical extractives, and because of these chemicals cedar is very durable and weather resistant. Unfortunately these chemicals dissolve quite easily in water. Stains around nails or screws are caused by a reaction between the iron...
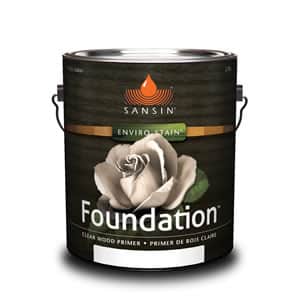
What’s the difference between stain and paint? How does it change the look?
When first opening a can of stain or paint, the noticeable difference between the two is that stain has a thinner consistency. When applied to a piece of wood, the stain soaks into the wood whereas the paint sits on the surface. The main similarity between stain and...
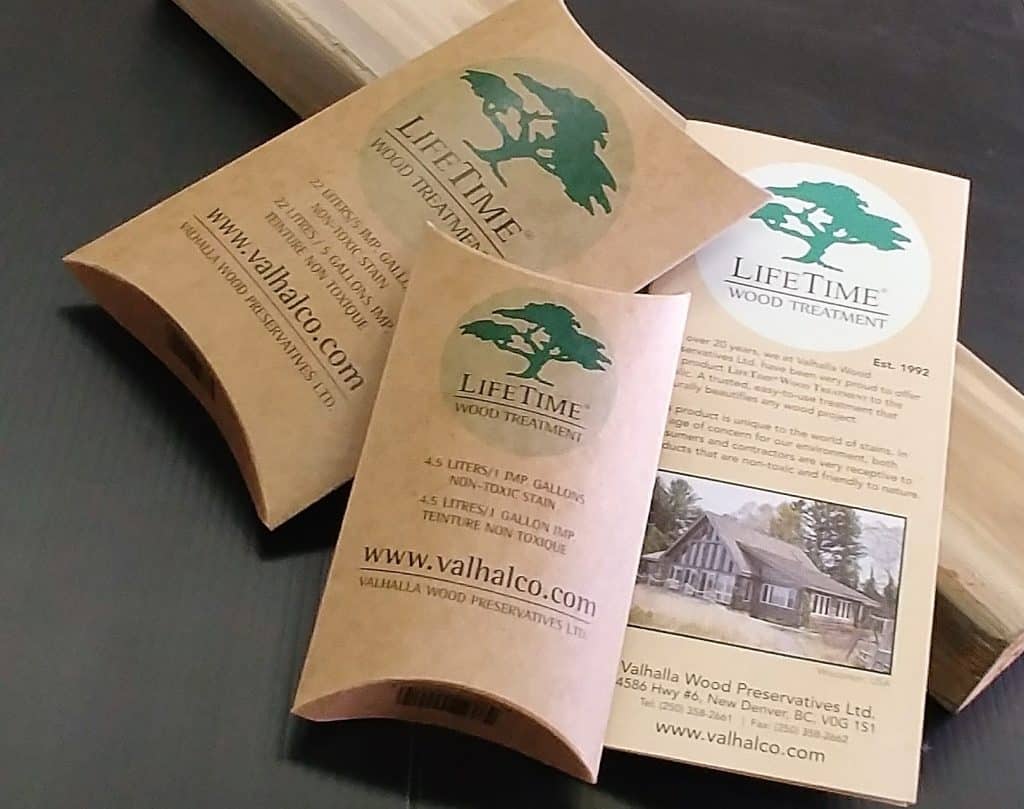
The Importance of Stain in Preventing Cedar from Turning Grey
There are two main culprits behind the reason different types of wood can become discoloured: water and sun. In this blog post we will describe this process with cedar, and how to prevent it. Wood cells on the outer layer of the plank are filled with natural oils,...
You Also May Be Interested In….